Building the Eun Mara "Skerry"
Decks
Plywood decks
Laid cedar decks
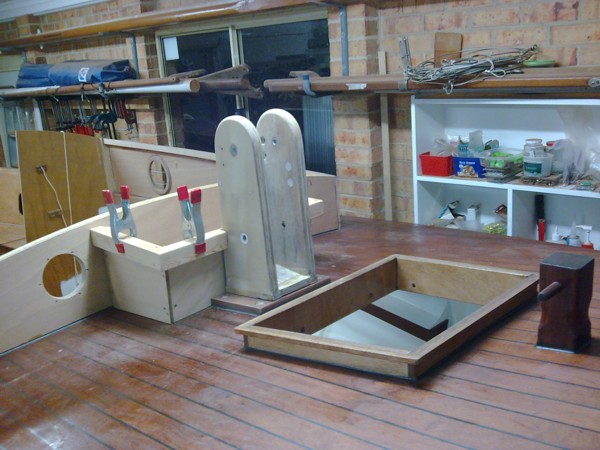
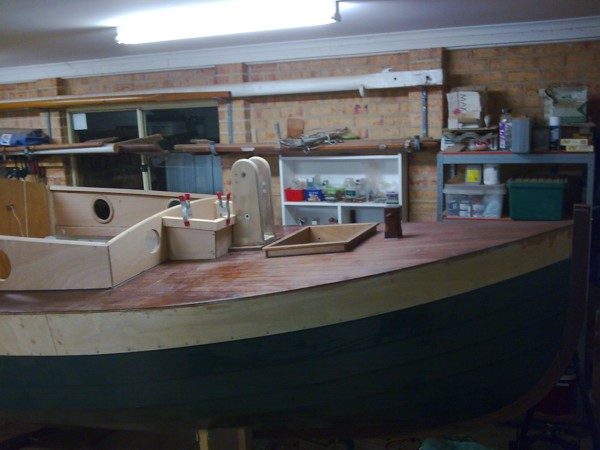
Deck fittings (including tabernacle, anchor box, etc)
My plan is to make the decks from 3/8" occume ply as per the design, but to overlay with cedar planking.
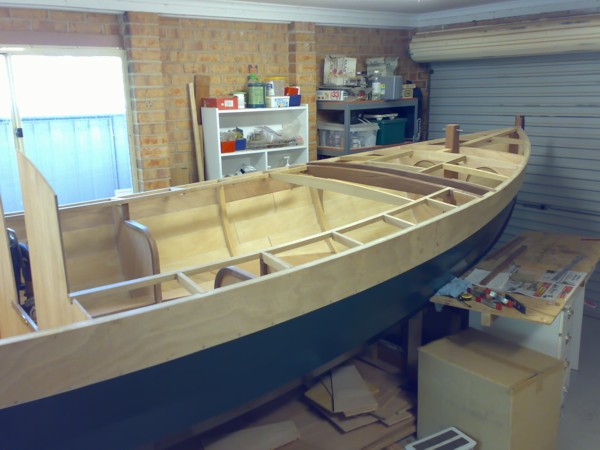
This shot shows the side deck framing forward of the cabin bulkhead. The beam connecting the carlins between stations 3 and 4 marks the front of the cabin.
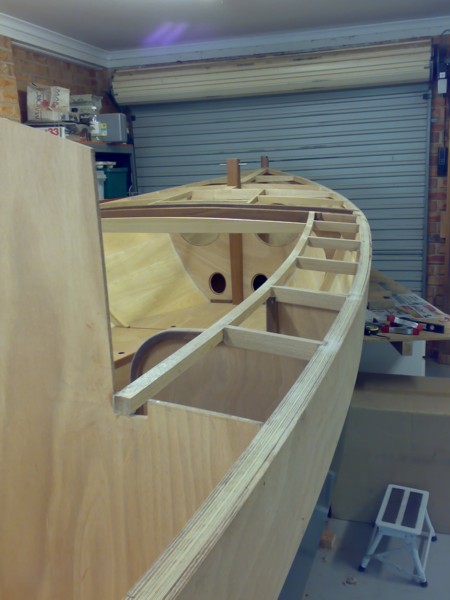
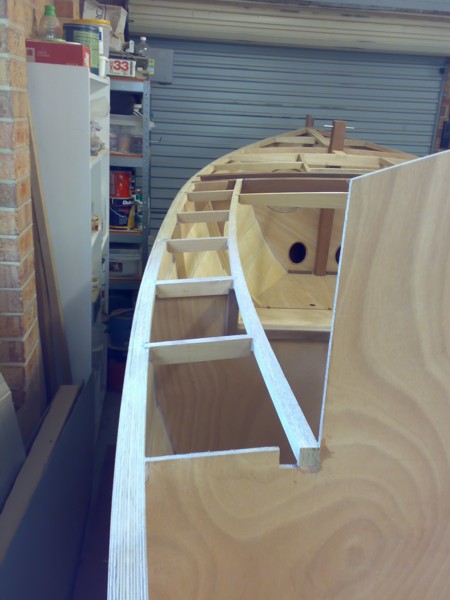
These shots show the side deck framing. The gap outboard of the carlin end will take the carlin for the cockpit framing, as the cockpit side decking is an inch narrower than the cabin side deck.
And here's another vew of the overall arrangement. Note that the samson post is not fastened in at this stage.

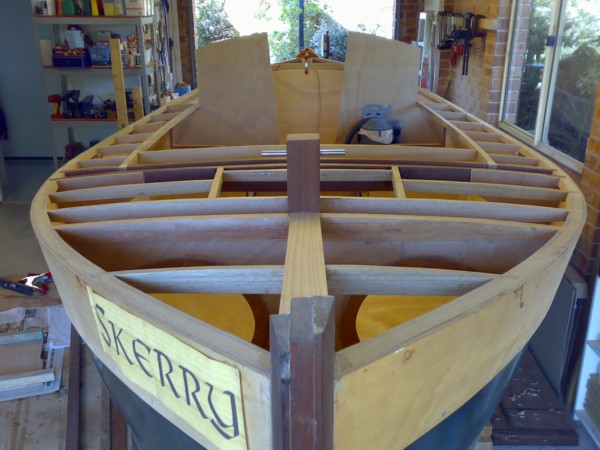
And here's the fitted decks. The two "triangular" pieces for the bow area can just be cut from a single sheet of 4'*8' plywood. The joins are all carefully positioned over the framing. The screws are temporary and will be removed after gluing. As I will be planking the deck I am not too concerned about them marking the surface of the ply.
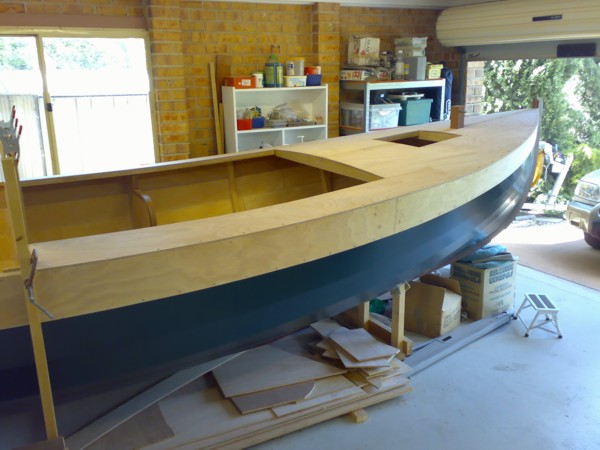
Now I am happy that everything fits I shall put the decking aside for a while until I finish fitting out and painting the inside of the cabin.
I decided to cover the plywood deck with a planked effect, using 2.5mm cedar veneer sheets that I acquired from a fellow boatbuilder here in Canberra. There were two main reasons for this:
- Aesthetics. I like the planked effect I have seen on other boats.
- Durability. The cedar will protect the surface of the plywood.
- It would cover all the defects in my plywood decking! (Though to be fair on myself I would have taken more care about the finish if I had thought it was going to be visible.)
I read about how other builders had laid their planked decks, but ended up doing largely my own thing, as shown in the following images.
Before laying the planks I sealed the plywood deck using "SenSeal" brand CPES (clear penetrating epoxy sealer).
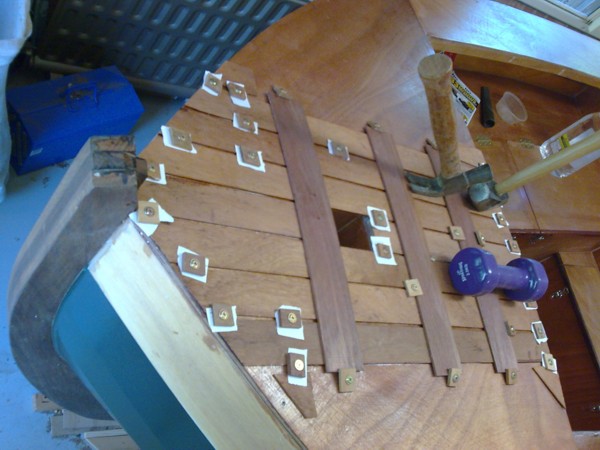
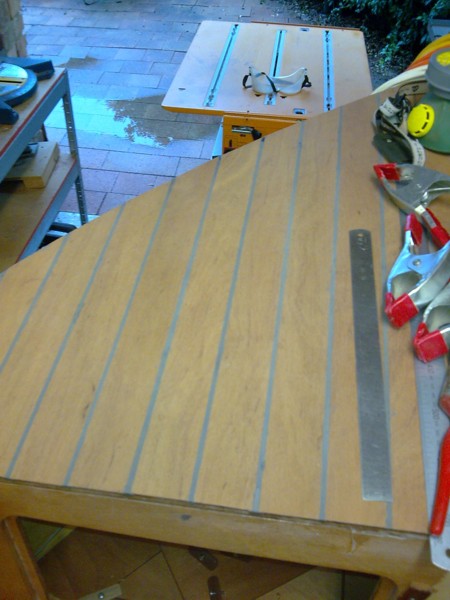
The cedar veneer sheets were cut into 50mm wide strips and sealed with CPES on the side that would be glued. When laid on the deck they were spaced 4mm apart, which was the width of the thread of the sheet metal screws that I used to position them. (As shown in this image, which also shows the wooden "washers" to prevent the screws going right through the plywood deck, and paper to stop the washers adhering to the planks when epoxy was squeezed out into the gaps between the planks.
I tried a few strategies for applying the epoxy and for holding down the planks while the epoxy cured. For the first attempt, shown above, I just painted both surfaces (plywood and cedar) liberally with unthickened epoxy, and held the planks down with straps made of flexible hardwood strips that were at hand. Because some of the veneer was warped in places this strategy was not fully effective, and I had to resort to extra sheet metal screws and judiciously positioned weights to flatten high spots.
Between the planks I used epoxy thickened with light weight fairing powder and coloured dark grey with black pigment (from BoatCraft Pacific). I tried applying this with a syringe but found that the epoxy contained many tiny air bubbles. Eventually I just filled the gaps using a putty knife - very labourious, but gave much better results

I gave up on using straps to hold down the planks and just relied on weights. (Three litre orange juice bottles make very effective 3 kg weights.) I also used the coloured thickened epoxy as glue (after painting both surfaces with straight epoxy). I didn't attempt to use so much as to fill the gaps between planks with squeezed out glue.
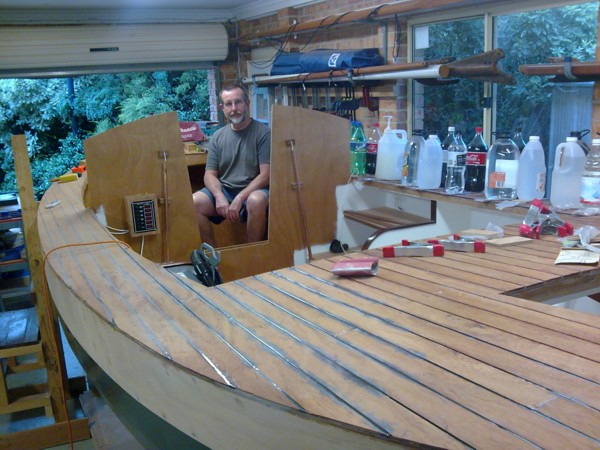
Here is a section of the deck with the grey epoxy forced into the gaps. (And a tired builder taking a rest.)
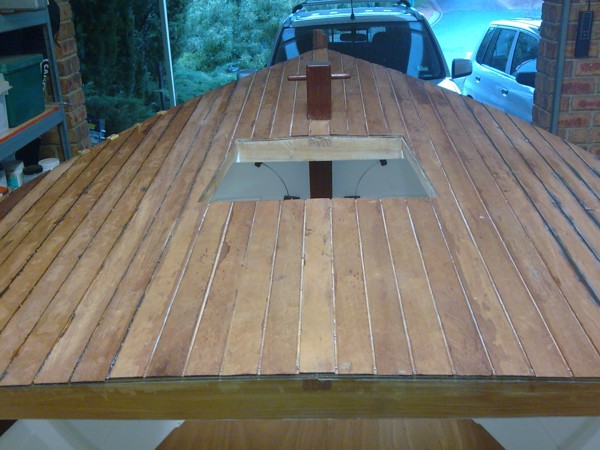
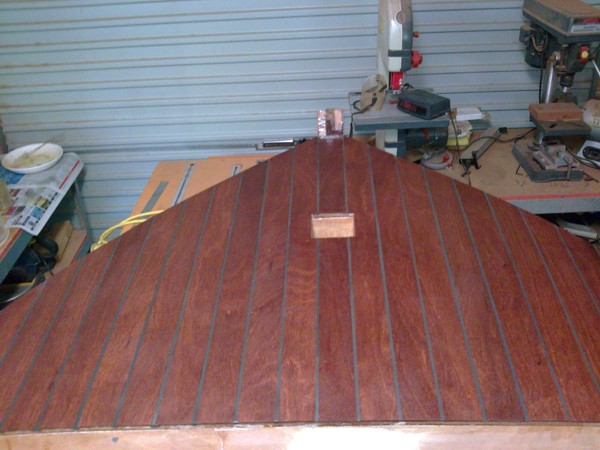
This image shows the fordeck planks before filling...
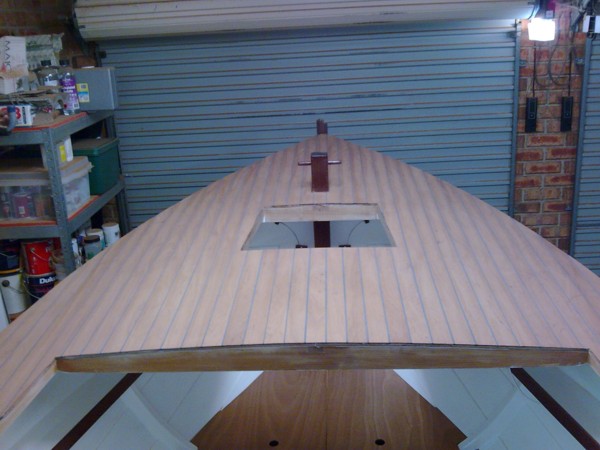
...and here are the foredeck and afterdeck after filling and sanding. (The colour difference is just due to artificial light for one and sunlight for the other.)

And here are both decks after applying CPES to seal the surface and bring out the colour of the cedar That's how they will stay until the boat is completed and ready for its final finish.
Inspired by Ian M, I decided to build an anchor box between the cabin and the tabernacle. This was partly to have somewhere to stow an anchor and associated bits and pieces, but also (and mainly) to brace the tabernacle.
(As mentioned elsewhere, the tabernacle is from Ibis, built by Mike in Perth.)